KPovModeler 0.2
Written by Olivier Saraja (olivier_at_linuxgraphic.org)
English version
Step 2: Setting the camera
First of all, we will set a camera. In order to do so, two convenient ways are available:
Using the menu: Insert > Camera
Using the toolbar: click on theicon
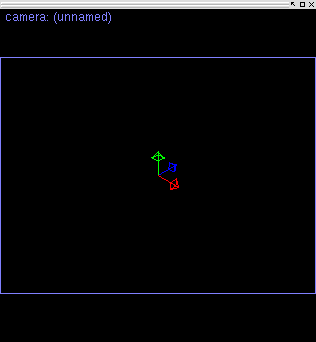
The Graphical View shows how the camera is set regarding the whole scene we are creating. In particular, we can now see something in the fourth Graphical View (Right, Bottom): this is the view of the scene from the camera point of view. This is what will be seen when you render the scene.

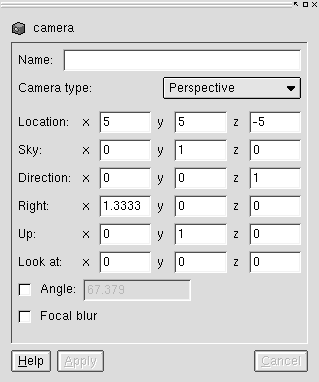
The Object Tree now shows a new entry, reading 'camera'. If you click on it, it affects the content of the Object Properties View, where various parameters pertaining to the camera can be found. Refering to the Povray's documentation to learn more about these could be helpful.

We will change nothing to the basic settings of the camera, this will be the scope of later tutorials, but please note that in the Graphic View, the camera has control points that let you control the point to which the camera points. You just have to left-click on one handle and move it to an appropriate location.