KPovModeler 0.2
Written by Olivier Saraja (olivier_at_linuxgraphic.org)
English version
Step 3: Setting a light
The same way we have set a camera, we will now set a light system:
Using the menu: Insert > Light
Using the toolbar: click on theicon
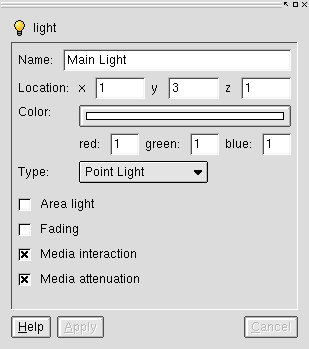
A new entry features now in the Object Tree. If you click on the Light entry, you see that the Dialog View changes in order to show the parameters available to the lighting system. We will change some parameters in order to set the light higher above the horizon (y=3), slightly on the right (x=1) and in the foreground (z=1). We can also rename the light system (Name=Main Light). Change the values in the Object Properties View as follows:

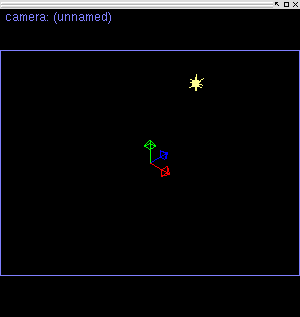
Once you press the Apply button (or hit Enter), the Graphic View and the Object Tree immediately change in order to comply to these settings, and here is what now should see the camera.
